Tool inlays
February 26, 2021


The end of winter is upon us and that means... spring cleaning. And with spring cleaning comes repairs, DIY chores and getting your tool shed sorted. We're not going to help you with all the things you need to do in and around the house, but we will help you to get your tools sorted in today's blog with the help of, you guessed it, 3D printing.
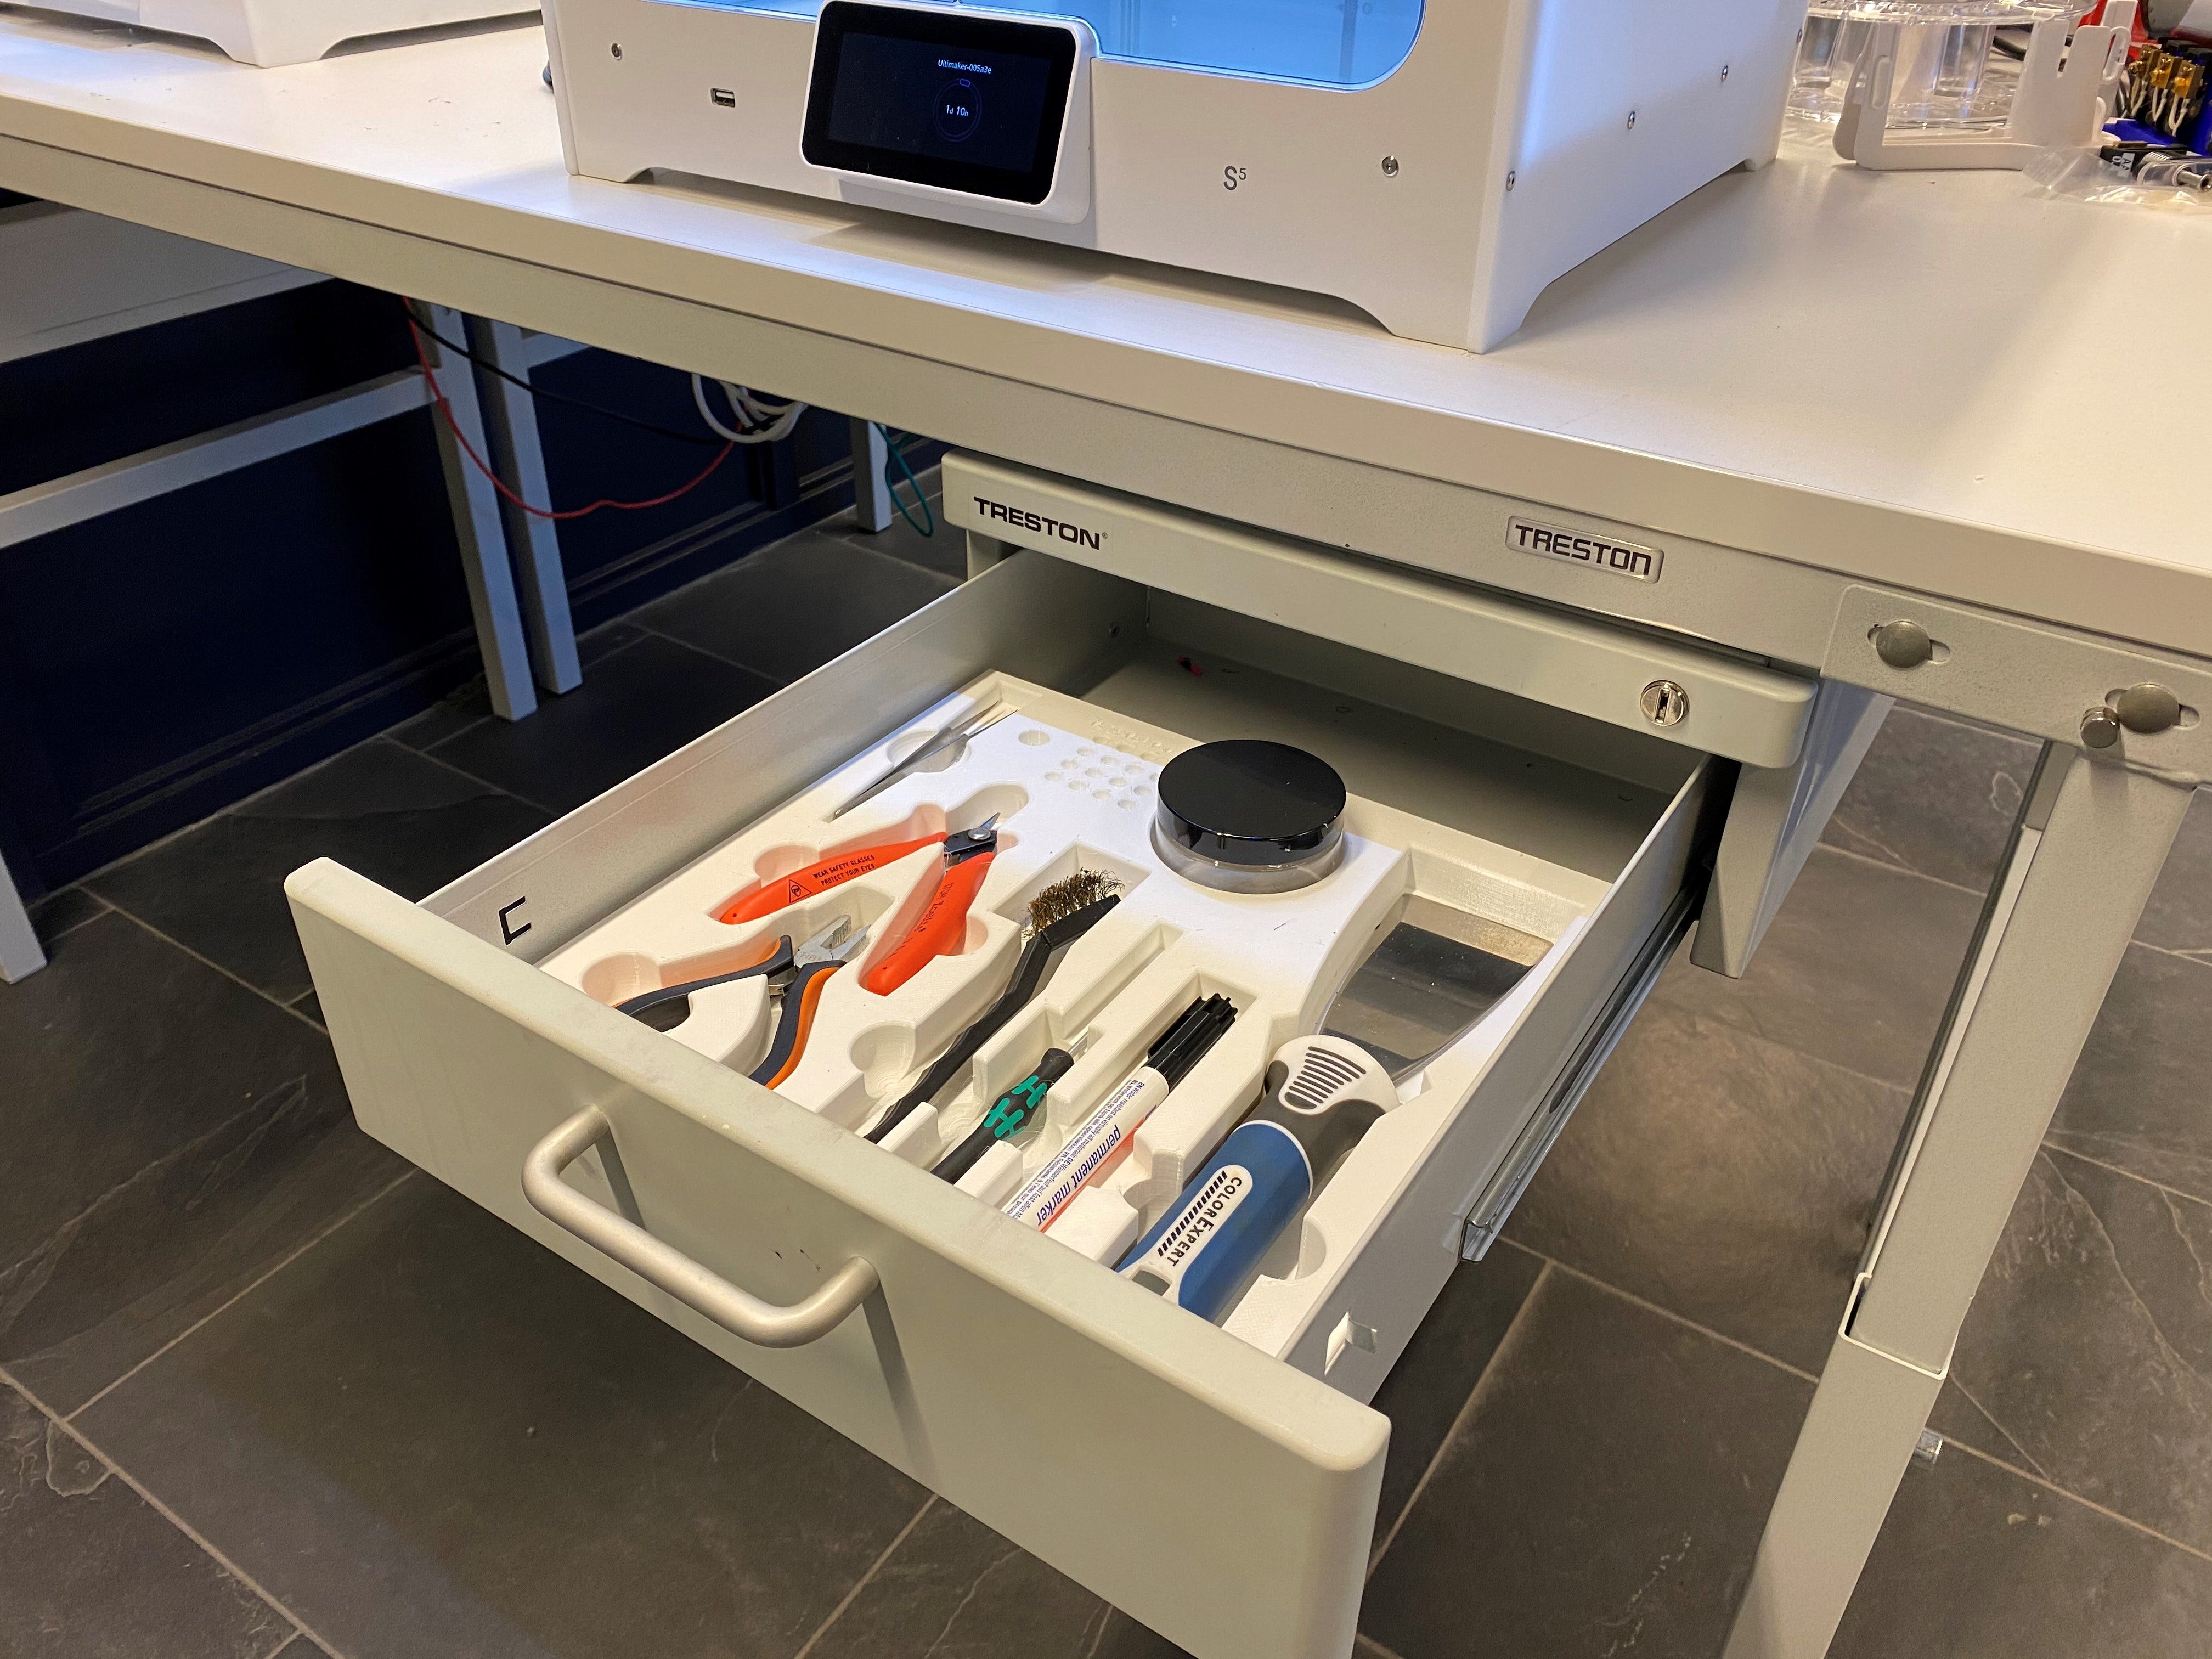
Custom tool inlays are great to promote a more ‘lean’ work environment. We implemented our tool inlays in both production and lab environment with great success. Tools are always were they need to be, if not you’ll notice immediately and can take action. We spend less time searching for the tools we need and clean-up after work is easy and effortless.
Below is a step by step guide how we did it.
Our tool inlays were printed with PLA Economy
Step 1 - Scanning
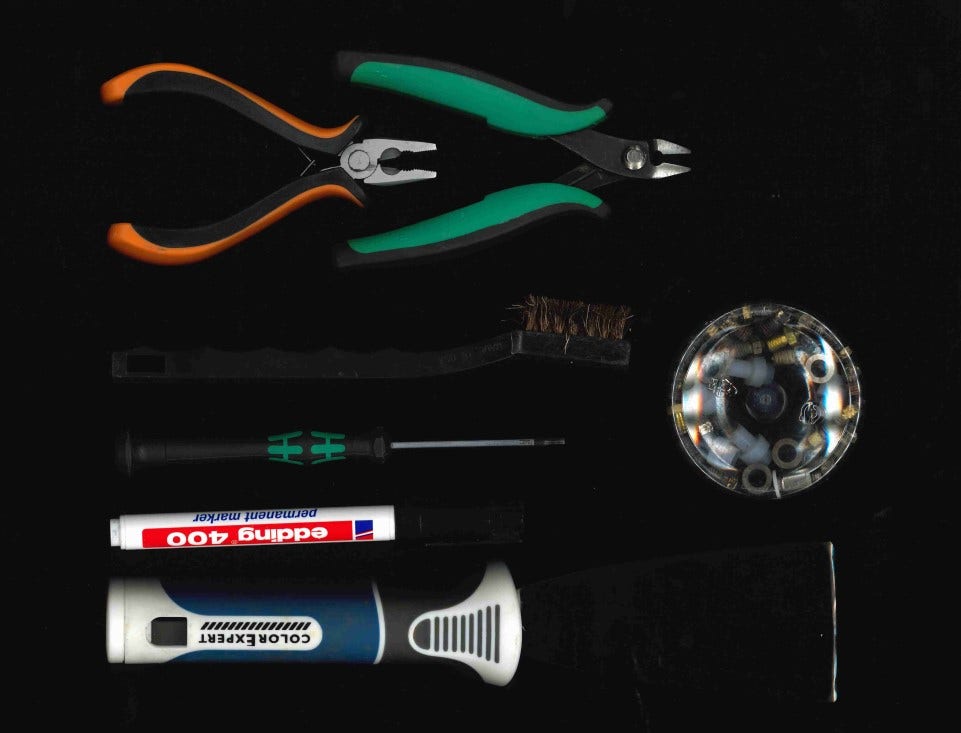
Gather your tools and, if possible, place them roughly in the position you would like them to be in the inlay on a regular 2D scanner. You can also scan each tool separately and combine the outlines in your CAD software.
If tools are to big for the scanner you can also make a picture from above, try to center the camera as much as possible above the middle of the object. This way you’ll have the least distortion of the lens.
All designs and images by Team colorFabb


Step 2 - Draw outlines
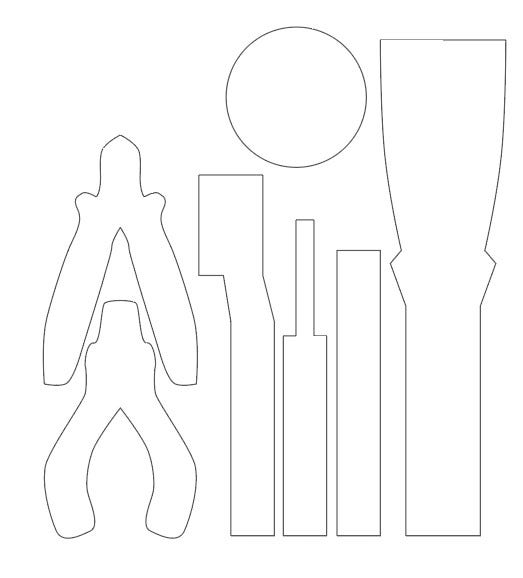
Draw outlines around the tools using Illustrator or similar software. When drawing the outlines we decided to already keep a bit of spacing between the model and the outline, so we know for sure the part fits easily.
We exported the outlines as .dxf file.
Step 3 - 3D files
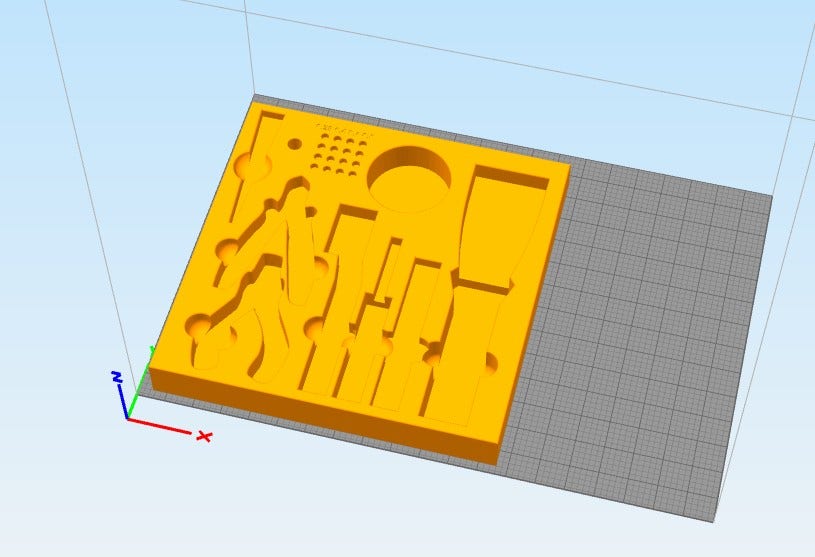
In CAD we start with a basic slab, using the measurements of drawer which it should fit. Then for the top surface the outlines are used to make the individual cuts for each tool. Since the height of each tool is different, the depth of each cut is also different.
We also added some additional circular cuts so there’s room for the fingers to wrap around the tools and remove them from the tray.


Step 4 - 3D printing
After exporting the STL file from CAD, you can insert the file into your slicer software. We use PLA Economy to 3D print the inlays, these inlays use quite a bit of material, so it makes sense to use PLA Economy for most cases. It’s available in the popular colors, black, white, red, silver, blue and gray and has the best price per kg of all materials we sell.
Printing big parts is no issues with PLA Economy, when the platform is levelled and the distance between nozzle and platform is set just right, you won’t have any warping on your prints. If needed you can always choose to add a brim for more adhesion to the plate.


About PLA Economy
PLA Economy is a high quality 3D printing filament, available on XL and larger spools only in a limited amount of colors. With the added impact modifier it is a bit tougher than your average PLA filament. By keeping the portfolio limited and on large spools only we are able to keep the price per kg as low as possible.
PLA Economy is a perfect solution for users in need for large volumes of quality filament at an affordable price.
Want to read more about tool inlays? Check out last year's blog we wrote about how our customer Van Mierlo utilizes custom tool inlays!


