How to Post-Process Co-Polyester 3D Prints: A Complete Guide to Smoothing, Painting, and Finishing
Co-polyester filaments, such as ColorFabb’s nGen and XT, are popular choices in 3D printing due to their durability, ease of use, and aesthetic appeal. These filaments produce parts that are strong, slightly flexible, and more resistant to temperature and chemicals than many other common 3D printing materials like PLA. However, if you want to give your co-polyester prints a polished, professional look, post-processing is essential.
In this comprehensive guide, we’ll cover the best methods for post-processing co-polyester 3D prints, including tips for sanding, painting, and enhancing durability. Whether you’re working on a functional prototype or a decorative piece, these techniques will help you achieve high-quality, visually appealing results.
Understanding Co-Polyester Filaments and Their Post-Processing Needs
Co-polyester filaments like ColorFabb nGen and XT are engineered to provide a balance between flexibility and toughness. They are also relatively easy to print compared to other high-performance materials like ABS or polycarbonate, making them suitable for a wide range of applications, from prototyping to finished products.
Why Post-Process Co-Polyester Prints?
While co-polyester prints can look good right off the print bed, post-processing can make them look even better by:
- Smoothing Layer Lines: Layer lines are visible on most FDM prints, and co-polyesters are no exception. Sanding and smoothing help reduce these lines, giving your print a more professional appearance.
- Enhancing Durability: Proper post-processing can make your prints more durable, especially if they are intended for heavy use or exposure to various elements.
- Improving Aesthetics: Painting and surface treatments can transform the look of co-polyester prints, making them suitable for artistic or presentation purposes.
- Adding Functional Coatings: Finishing techniques can add UV resistance or waterproofing, extending the lifespan of your 3D prints.
Preparation: What You’ll Need for Post-Processing Co-Polyester Prints
Before you begin, gather the following tools and materials for a smoother post-processing experience:
- Sandpaper (grit 120 to 2000)
- Wet Sanding Supplies (optional, for a smoother finish)
- Primer (if you plan to paint)
- Paint (spray or brush-on, depending on the desired effect)
- Clear Coat (optional, for added durability)
- Respirator or Dust Mask (sanding and painting can release particles and fumes)
- Protective Gloves
Let’s dive into the main post-processing methods for co-polyester prints.
Step 1: Sanding Your Co-Polyester Prints
Sanding is often the first step in post-processing 3D prints, as it helps remove layer lines and creates a smooth surface for painting or coating. Co-polyester is fairly easy to sand compared to tougher materials like polycarbonate, but it still requires patience and the right technique.
How to Sand Co-Polyester Prints
-
Start with a Low Grit Sandpaper (120-200): Begin by sanding your print with a coarse grit sandpaper to remove any noticeable bumps and layer lines. Use a gentle, circular motion and avoid pressing too hard, as co-polyester can heat up and deform if too much friction is applied.
-
Progress to Higher Grits (400-600): Once the larger imperfections are smoothed out, switch to medium-grit sandpaper. This will help eliminate scratches from the initial sanding stage.
-
Finish with Fine Grit Sandpaper (800-2000): For a truly smooth finish, use a fine grit (800 and above). Wet sanding at this stage can produce an even smoother surface. Dip the sandpaper in water and continue sanding gently to create a polished look.
-
Inspect and Repeat if Necessary: Check your print frequently to ensure you’re satisfied with the finish. If layer lines are still visible, you may need to repeat the process starting from a coarser grit.
Tips for Successful Sanding
- Use Wet Sanding for Finer Details: Wet sanding helps to avoid clogging the sandpaper and gives a smoother finish, especially at higher grit levels.
- Avoid Overheating: Co-polyester can soften when subjected to too much friction. Take breaks if necessary to prevent the surface from warping.
- Consider Using a Sanding Block: For flat surfaces, a sanding block can help maintain even pressure and produce a more consistent finish.
Step 2: Painting Co-Polyester Prints
Painting is a great way to enhance the visual appeal of your co-polyester prints. Since co-polyester does not react chemically with common solvents like acetone (as opposed to materials like ABS), it requires a different approach for painting.
Steps to Paint Co-Polyester Prints
-
Apply a Primer: Co-polyester surfaces can be slightly glossy and may not hold paint well without a primer. Choose a primer that is compatible with plastics and apply a thin, even coat. Allow it to dry completely before proceeding.
-
Sand the Primer Layer: For an even smoother base, lightly sand the primer layer with a fine grit (600-800) sandpaper. This step ensures that the paint adheres better and looks more uniform.
-
Paint the Print: Use spray paint for an even finish, or acrylic paints if you prefer brush-on methods. Spray paints specifically formulated for plastic often work best with co-polyester. Apply multiple thin coats, allowing each layer to dry before applying the next to avoid drips and achieve a smooth finish.
-
Apply a Clear Coat (Optional): A clear coat can add extra durability and give your print a glossy or matte finish, depending on your preference. Look for a clear coat that’s compatible with plastics to avoid damaging the print.
Tips for Painting Success
- Work in a Well-Ventilated Area: Paint fumes can be harmful, so make sure your workspace is well-ventilated.
- Use Light, Even Strokes: When spray painting, hold the can at a consistent distance (around 8-12 inches) and move it in smooth, even strokes for a uniform application.
- Allow Proper Drying Time: Give each layer adequate time to dry. Rushing can lead to uneven finishes and chipping later.
Step 3: Chemical Smoothing Techniques for Co-Polyester Prints
Unlike ABS, which can be smoothed with acetone vapor, co-polyester does not respond to common chemical smoothing techniques. However, there are other ways to achieve a polished look.
Alternative Methods for Smoothing Co-Polyester
-
Heat Gun Smoothing: Using a heat gun at a low setting, gently heat the surface of the print to soften and slightly melt the outer layer, which can smooth out minor layer lines. Be cautious, as excessive heat can deform the print.
-
Epoxy Coating: Applying a thin layer of epoxy resin can create a smooth, glossy finish and add durability. Mix the epoxy according to the manufacturer’s instructions and apply it with a brush or a small spatula. Once cured, the epoxy provides a hard, smooth surface.
-
UV-Resistant Clear Coat: For outdoor applications, applying a UV-resistant clear coat can help protect the print from sunlight exposure, which can degrade co-polyester over time.
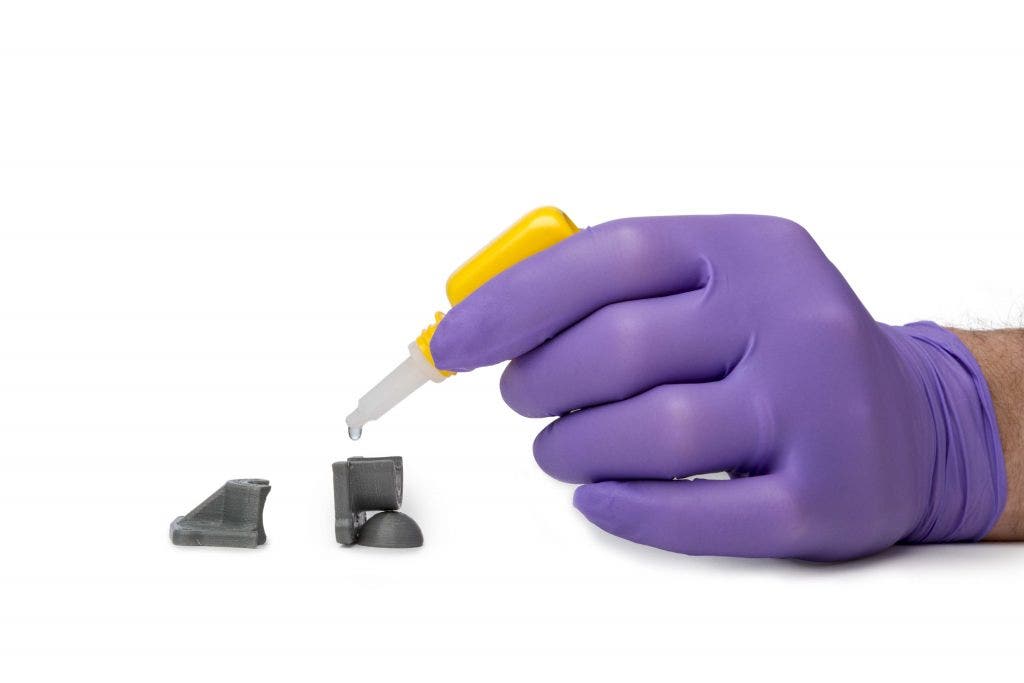
Step 4: Bonding and Assembly of Co-Polyester Parts
For larger prints or multi-part assemblies, you may need to bond co-polyester parts together. Since co-polyester does not bond easily with superglue or acetone, specialized adhesives are required.
Recommended Adhesives for Co-Polyester
- Epoxy Glue: Two-part epoxy glue works well for bonding co-polyester. It provides a strong, durable bond and can fill small gaps between parts.
- CA Glue with Primer: Certain cyanoacrylate (CA) glues come with a primer designed for plastics, which helps them adhere to co-polyester.
- Plastic Weld Adhesives: Some industrial-grade plastic weld adhesives are formulated to bond co-polyester materials effectively.
Tips for Enhanced Durability and UV Protection
Co-polyester prints are generally durable, but if you plan to use them outdoors or in harsh environments, consider these finishing touches:
- UV-Resistant Coating: Prolonged UV exposure can degrade co-polyester, causing it to become brittle or discolored. A UV-resistant clear coat can protect your prints from sunlight damage.
- Waterproofing: If your print will be exposed to moisture, an epoxy or polyurethane coating can improve its water resistance, extending its lifespan in outdoor settings.
Final Thoughts on Post-Processing Co-Polyester Prints
Post-processing co-polyester 3D prints can take your creations to the next level, providing a refined appearance and enhancing the functionality and durability